Thursday, January 16, 2014

"Limen" Poppyseed Cake

I've been wanting to make this cake for a while.  If any of you follow me on Pinterest, I went through this lemon poppyseed cake posting binge.  Luckily, I found a lot of good recipes to use for when I did finally make it, which happened to be today.

Well, my lemon poppyseed cake might not actually be lemon.  As you have probably read in the title, this is a "limen" poppyseed cake.  My sister planted a tree in the yard and then she forgot whether she planted lemons or limes.  Now, you probably think it should be pretty obvious to decide which one it is by the color, but, the outside of these are mostly yellow with some green and the inside is a light green almost yellow.  Very tricky.

Anyway, they are a citrus and I used them.  I used this recipe:

http://liza-messycorner.blogspot.com/2013/08/lemon-yoghurt-n-poppy-seed-cake.html

It is pretty simple and really tasty!  I actually made it in my rice cooker because I have been wanting to use the cake function for a while now.  Of course, you can just follow the recipe and make it in the oven and I'm sure it would be just as (if not more - but probably not more) delicious.

First things first, lay out dem ingredients because not only does it make what I think is a good picture, but it also just makes everything a lot easier when baking.

You will need:

1 1/2 cups all purpose-flour
1 teaspoon baking powder
1/2 teaspoon baking soda
1/2 teaspoon salt
1 1/2 cups sugar
1 cup whole milk plain yogurt
1/2 cup canola oil
2 large eggs
2 tablespoons freshly squeezed lemon juice (or in my case "limen" juice)
zest of two lemons
Poppyseeds


Mix the flour, baking powder, baking soda and salt together.


Next, in a separate bowl, mix the sugar, oil, yogurt, eggs and lemon juice and zest together.


Make sure to get all the zesty goodness from the back of the zester.


Also, this is my "limen."  See what I mean by the color on the inside, yet the outside is yellow.  Very confusing indeed.


Make sure to squeeze all the juice you can.  It is a lemon cake after all and you want to make sure you can taste all that lemon flavor.


Then just mix the dry ingredients into the wet ingredients in batches until the dry ingredients and wet ingredients become one.


Get those poppy seeds (is this one word or two?  I wrote it as one on my instagram but then I edited it.  You get what I mean).

Put as many as you want.  Hopefully you use poppy seeds that are not stuck to the bottom of the bottle because let me tell you it is very difficult to get them out.  I have big hands and long fingers and I thought I would have been able to just use my fingers to get the extra out but it didn't work so I used a spoon.  

That story was incredibly boring I realize, but I am too lazy to erase it so it's going to stay.  I'm funnier in person.


Give it one last mix and then pour the batter into either a buttered and floured baking dish or your rice cooker if you want to experiment.  


I just cooked mine until a toothpick came out clean.  I think it took me like 40 - 45 minutes, but I wasn't really paying attention.  The recipe says bake it at 350 for 40 minutes.


It's a beautiful golden brown when you take it out, but I thought that looked ugly and so I turned my upside down later so that the poppy seed top was showing instead.

I made a glaze to go with it, which was pretty simple.  Just a little bit of warm butter with lemon juice and few tablespoons of water and powdered sugar.  Make it to taste and the consistency you want.  


I poured it over the cake and it fell on the sides and I thought it looked terrible.


I was tired tonight and that didn't help.  I started pouting and was really upset (don't I sound like a ball of fun?).  Anyway, I had to take it off the plate with the hideous glaze around it and move it to another plate.
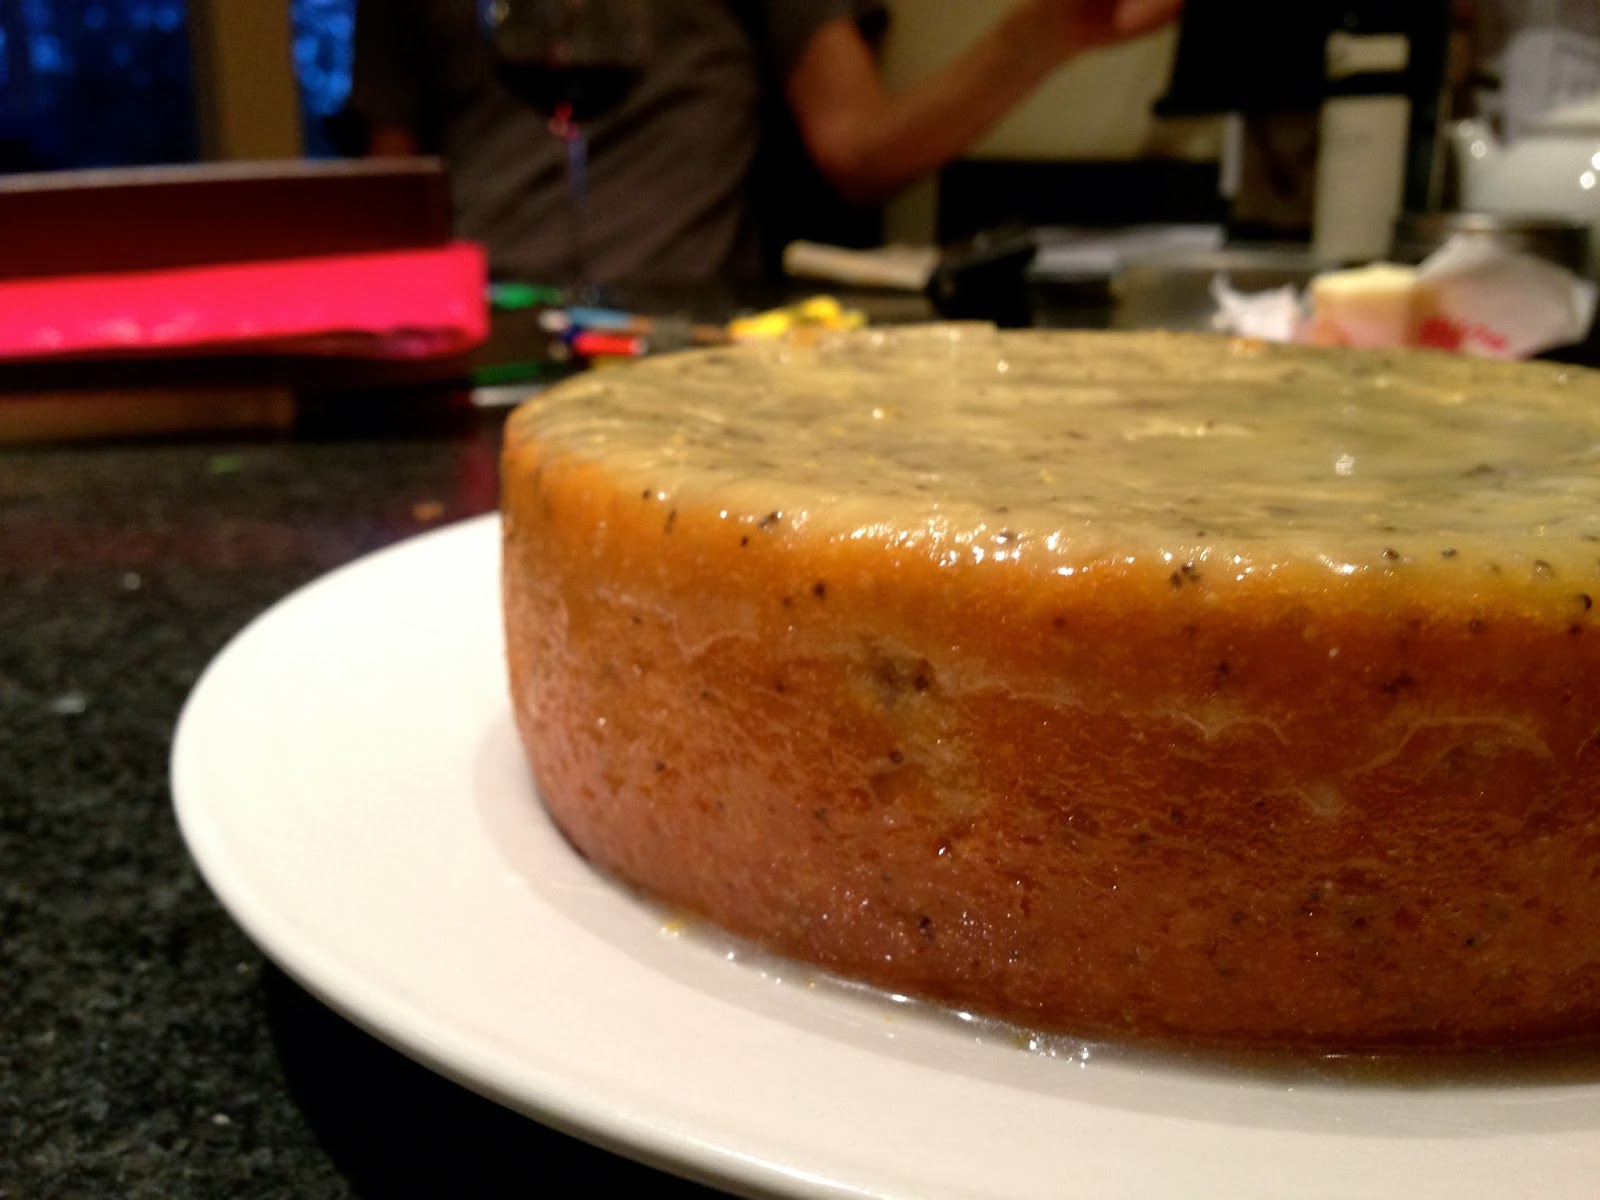

The poppy seed top is so much prettier anyway.  The cake is SUPER moist and really delicious.  I bet my mom is agreeing right now as she is reading this.


My US Weekly came in today too so I obviously read that while I ate my dessert.


Unfortunately, I go back to school this weekend and so I probably will not be making food/ blogging about it so much anymore.  Hopefully I'll find some good restaurants that I can write about, until then, enjoy!

Friday, January 10, 2014

Arepasssss

Firstly (is that a word?), let me show you the amazingness that is my new phone case:


Yes, this is the instagrammed version, which only makes it better.  (Also, if you want to follow my instagram - I always love more followers - the majority of it is food pictures.  It's @morrissab)

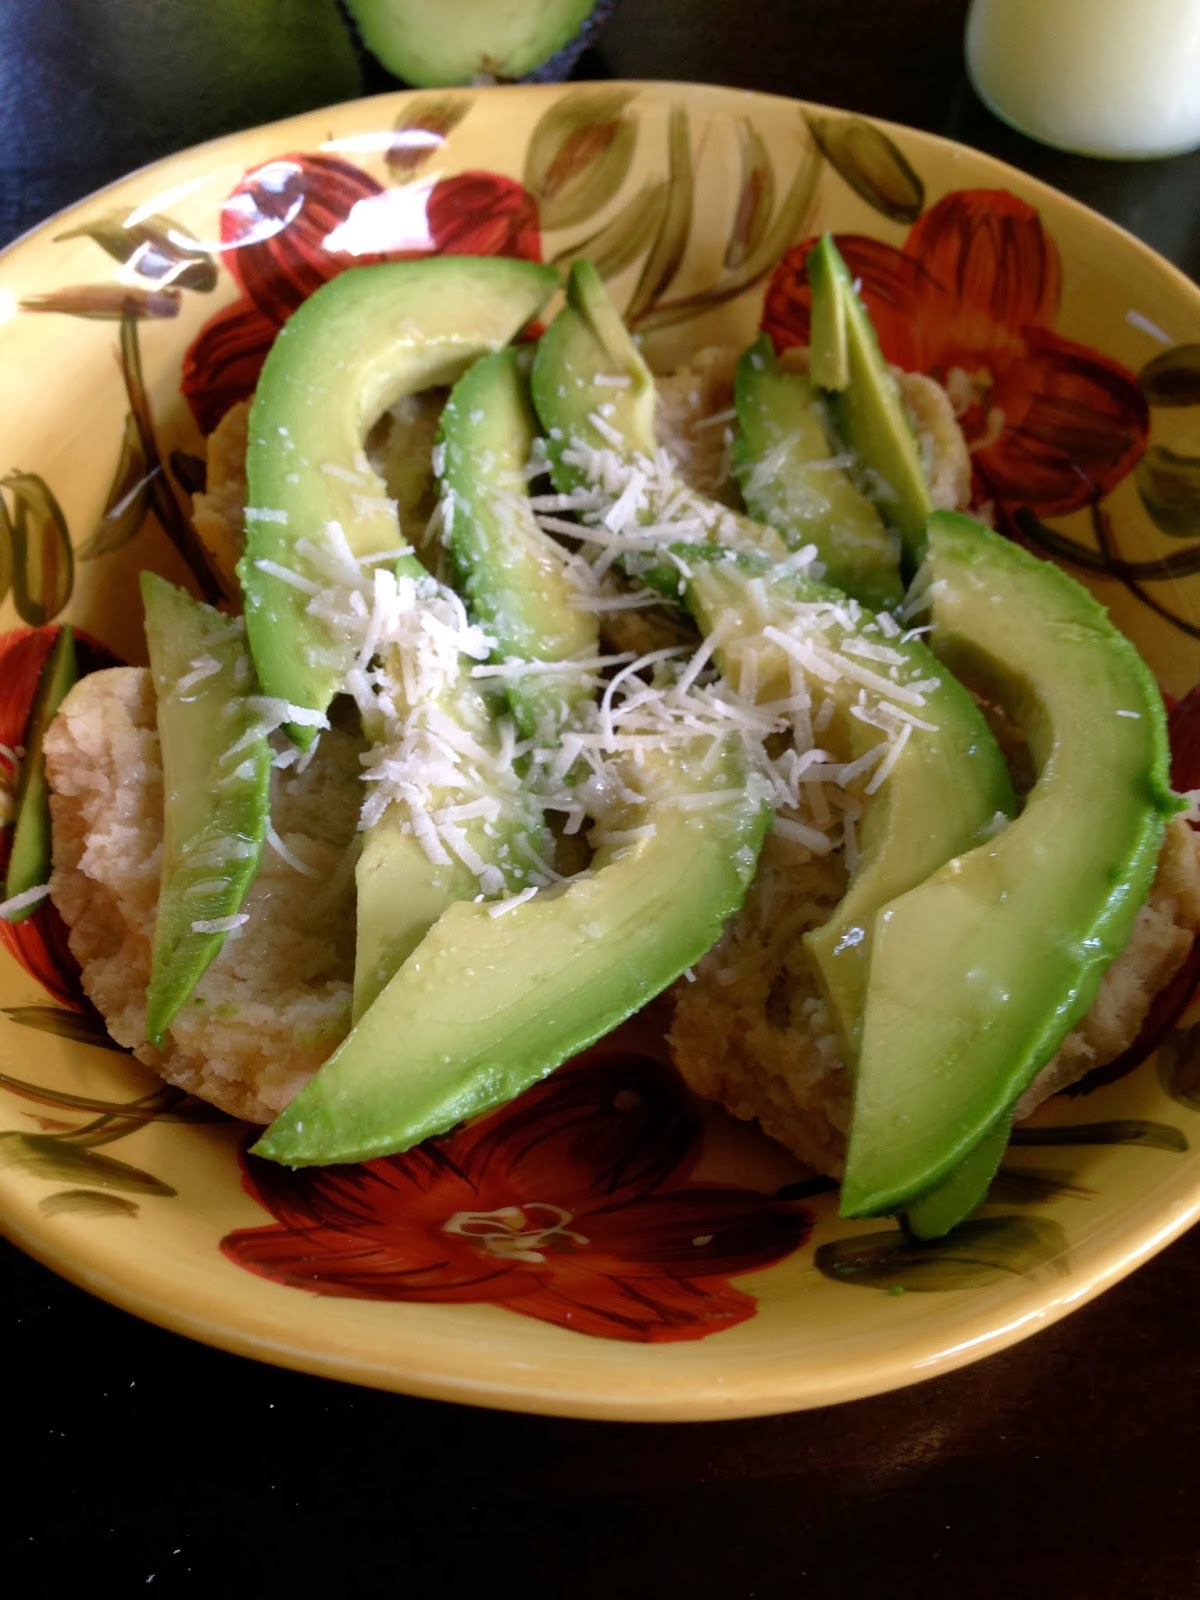
Now, onto the arepas!  I love these.  The first time I had them was in Spanish class, and the only way I can really describe them is like a dense English muffin.  Usually, I have heard, you cut them in half and put cheese and/or meat in the middle.  Mine are a more California arepa - avocado.  

They are super simple to make, all you need is Maseca, water, milk and a dash of salt.  Maseca is just corn flour and is relatively inexpensive and can be used for making tortillas and I think tamales (one of my favorites).  Here is a picture of the flour I use for reference:


So, there really is not much measuring in this recipe.  I used two cups of the flour and poured some milk in and some warm water until the dough was able to come together in a ball.  Here are pictures of my steps (again, excuse the poor photography):


I start mixing it with a spoon, but eventually you will just have to use your hands.  


When the dough is ready, get a pan and put a little vegetable oil and heat it up.  I learned that you should not use olive oil when frying, and although you are not frying these, you do want to get them a little brown on the sides sooooo yeah, vegetable oil.


Form the dough into little english muffin shaped discs, as big or little as you like.  Make a lot of small ones and serve them as appetizers or a side for any dinner.


Got my nails done for the first time in a LONG time and it feels amazing!  I had to show them off.  If you were wondering, the color if Essie Ballet Slippers, very classy.


Put them in the pan and cook them until the sides are golden brown.  

Place the browned arepas on a baking sheet and place it in a 400 degree oven for about 20 minutes, until the insides are cooked (that sounds a little weird).  I didn't include a picture of this step even though I took a picture because it was so awful.

When they are ready, take one out and cut it in half.  

Then take an avocado and slice it up so it's nice and pretty.


Place the cut arepas on a plate and put the avocado on top (I added some shaved parmesan).  I also had garlic - olive oil dressing from a local restaurant on it, but it is just as good with oil or oil and vinegar or oil and salt, the possibilities are endless! 


Enjoy!

Also, I started watching this new show called Betrayal, it is very bad but I really like it.


Friday, December 27, 2013

Homemade Granola

So, I have been really busy with finals and sleep and TV and everything, that I haven't had time (or energy) to make food, let alone blog about it.  But, I'm back!

I'm on my winter break, which lasts about a month, so I'm stoked.  I caught up on all my shows, and even started some new ones (Summer Heights High and Ja'mie Private School Girl anyone???).  So, to go along with these shows, I've made one of my (and my family's) favorite snacks to have in the house - granola.

This granola recipe is literally amazing!  It comes out delicious every time and is devoured in like, 3 days.  I have no idea where we got this recipe, but I'm glad we got it.

First thing to do, is get out all your ingredients and lay them out.  Well, you don't NEED to lay them out, it just makes it easier and cleaner.  But, whatever floats your boat.  If you want to run back and forth from the counter to the cupboard and break a sweat while you're cooking, be my guest!

Ingredients:

-non-stick cooking spray
-4 1/2 cups old-fashioned rolled oats (not instant)
-1/2 cup whole-wheat all purpose flower
-1/3 cup brown sugar, packed
-1 teasponn baking soda
-1 teaspoon cinnamon
-1/2 teaspoon salt
-2 teaspoons vanilla
-2/3 cup butter, softened, cut into cubes
-3/4 cup honey
-whatever dried fruits and nuts you want to use (I used: raisins, cranberries, sunflower seeds, pumpkin seeds, walnuts, almonds)


Step 1:

Preheat the oven to 325 degrees.  Line a baking sheet with tinfoil and spray with non stick cooking spray.

Step 2:

Mix all the ingredients except the nuts and fruit together with a mixer (eventually you will have to use your hands, like me).


(I have giant hands, and there was no way of making my hands look small in the photo)

Step 3: 

Mix in all the nuts and dried fruit you want!


Nuts on nuts… delicious.

Step 4:

Pour all the delicious, I guess you call it "batter," into the pan and bake it in the oven for 25-30 minutes.  It turns a delicious golden brown color and looks and smells amazing!!!


Step 5:

Enjoy!!!  

This is seriously so delicious, and my family absolutely loves it!  Sprinkle it on top of yogurt with some honey (and a couple OREOs - mega stuf of course - on the side) and you have yourself a somewhat healthy and delicious dessert.


I'll try to write more, although I still don't think I'm writing for anybody but myself.  I hope you love it as much as I do!

**EDIT**

I tried the granola this morning on my smoothie bowl (there is a recipe for one I made a while ago on this blog, just click the link on the side) and OH MY GOD!!!! It was so good! 


Add some bananas on the side to make it look pretty and dig in! 


Saturday, November 30, 2013

Spaghetti Squash

I haven't done a blog post in so long! This is for many reasons, but mainly because I have not had any particularly stellar food and so I had no reason to blog.  I'm home for Thanksgiving (Happy Thanksgivukkah) and so that means I am eating a lot of good food.

Actually, what happened on Thanksgiving, is I filled up on bread and cheese (as usual) and was really full by the time dinner came around.  Anyway, Thanksgiving was delicious, and I must have gained probably 10 pounds.  Whatever, when I go back to school it will hopefully go away.

My sister made a cake and I decorated it.  Usually I am good at decorating cakes, but for some reason this cake looked like poop.


It looked nasty, but it tasted great.  I am currently finishing the cake as I am writing this.  But, this is not what my post is about.  My post is about the spaghetti squash I made this morning.

First, buy a spaghetti squash, and put the whole squash on a baking dish.  


Put the squash in the oven at 375 for 45-50 minutes.  Once that's done, take it out and cut it in half.


Scoop out the seeds from the middle with a spoon.  This can be a little messy, just to warn you.  

Next, take a fork and scrape down the squash from the skin and you will see the spaghetti strands forming.


You will get a nice bowl of, what looks like, spaghetti.  Now, here is where you can experiment with whatever you want! 

I took the spaghetti squash and put some in a pan and on the stove.


Then I added this amazingness!!!


Yes, that is butter olive oil.  And it is amazing.  But, of course, if you don't have butter infused olive oil (I feel like Ina Garten, eeeeks), you can always just use butter, which I am sure would be even better!  I also added a little salt.

Then you just serve it up. 


I have not done any homework since I have been home, even though I definitely have some to do.  Instead, I have been watching a lot of TV, which of course, is way more important.  

Soooooooo, I ate the spaghetti squash while watching a romcom, my favorite type of movie.  I watched Sliding Doors, and it had Gwyneth Paltrow in it.  I really can't stand her, but the movie was good I guess.


I need closed captions because my hearing is actually awful.  I would definitely recommend this spaghetti squash.  It's super easy and healthy so enjoy!


Friday, October 18, 2013

BLT

One of my favorite sandwiches is a BLT.  They are kind of a pain to make, only because the bacon is an annoying food to make - the house smells for days and the pan is super greasy.  But, if you can get over this, then you've got yourself a good sandwich.

I went to this restaurant the other day and ordered a BLT.  It came with a salad on the side, with this really good dressing.


The bread was toasted perfectly, and crunchy and delicious.  What I really liked about the sandwich was that it was a surprisingly light BLT, which is very hard to do.  


It also had homemade mayonnaise on it, which like the whole sandwich itself, was divine.


The sandwich was really good.  I don't really have much more to say.  I came home this weekend and got to watch TV.  It was bad because I literally got no homework done, but I did get to catch up on a lot of my shows.


Monday, October 7, 2013

El Salvadorian

Why does ugly food always taste good?  It really makes it difficult when trying to write this blog because, I already suck at taking photos of my food, so to have to try to make ugly food look good in a picture is nearly impossible.  So, just to warn you, the photos on this post are worse than usual.

Ok, last night.  I went out to dinner (obviously because I can't cook here) to this El Salvadorian place.  I was super excited to go, mostly because I hadn't eaten much yesterday and was literally starving (well, not literally, but I was really hungry).  The dinner was late though, it was at 7:30, and I normally eat at like 5:00!  They served a bunch of different food, and I wanted to try all of it.  Luckily, I was with a big  group, and the two things that I did not order but that I wanted to try other people ordered so I got to try them.

I ordered pupusas, which is a thick corn tortilla stuffed with stuff.  I got two, one with cheese and chicken, the other with pork, black beans and cheese.  I have masa at home, and realized that I could make these, instead of arepas, which is what I usually make.  Arepas are made from corn flour, but you can kind of think of them as a really dense english muffin.  You put whatever you want in them.  They're good if you've never had them, and if you get the masa flour they are super easy to make (just flour, water and a little salt and you're good).

Back to the pupusas, they were good.  They were definitely not beautiful, but they tasted good.


To make them a little less boring, although boring is great, I put some of this spicy sauce they had at the table.


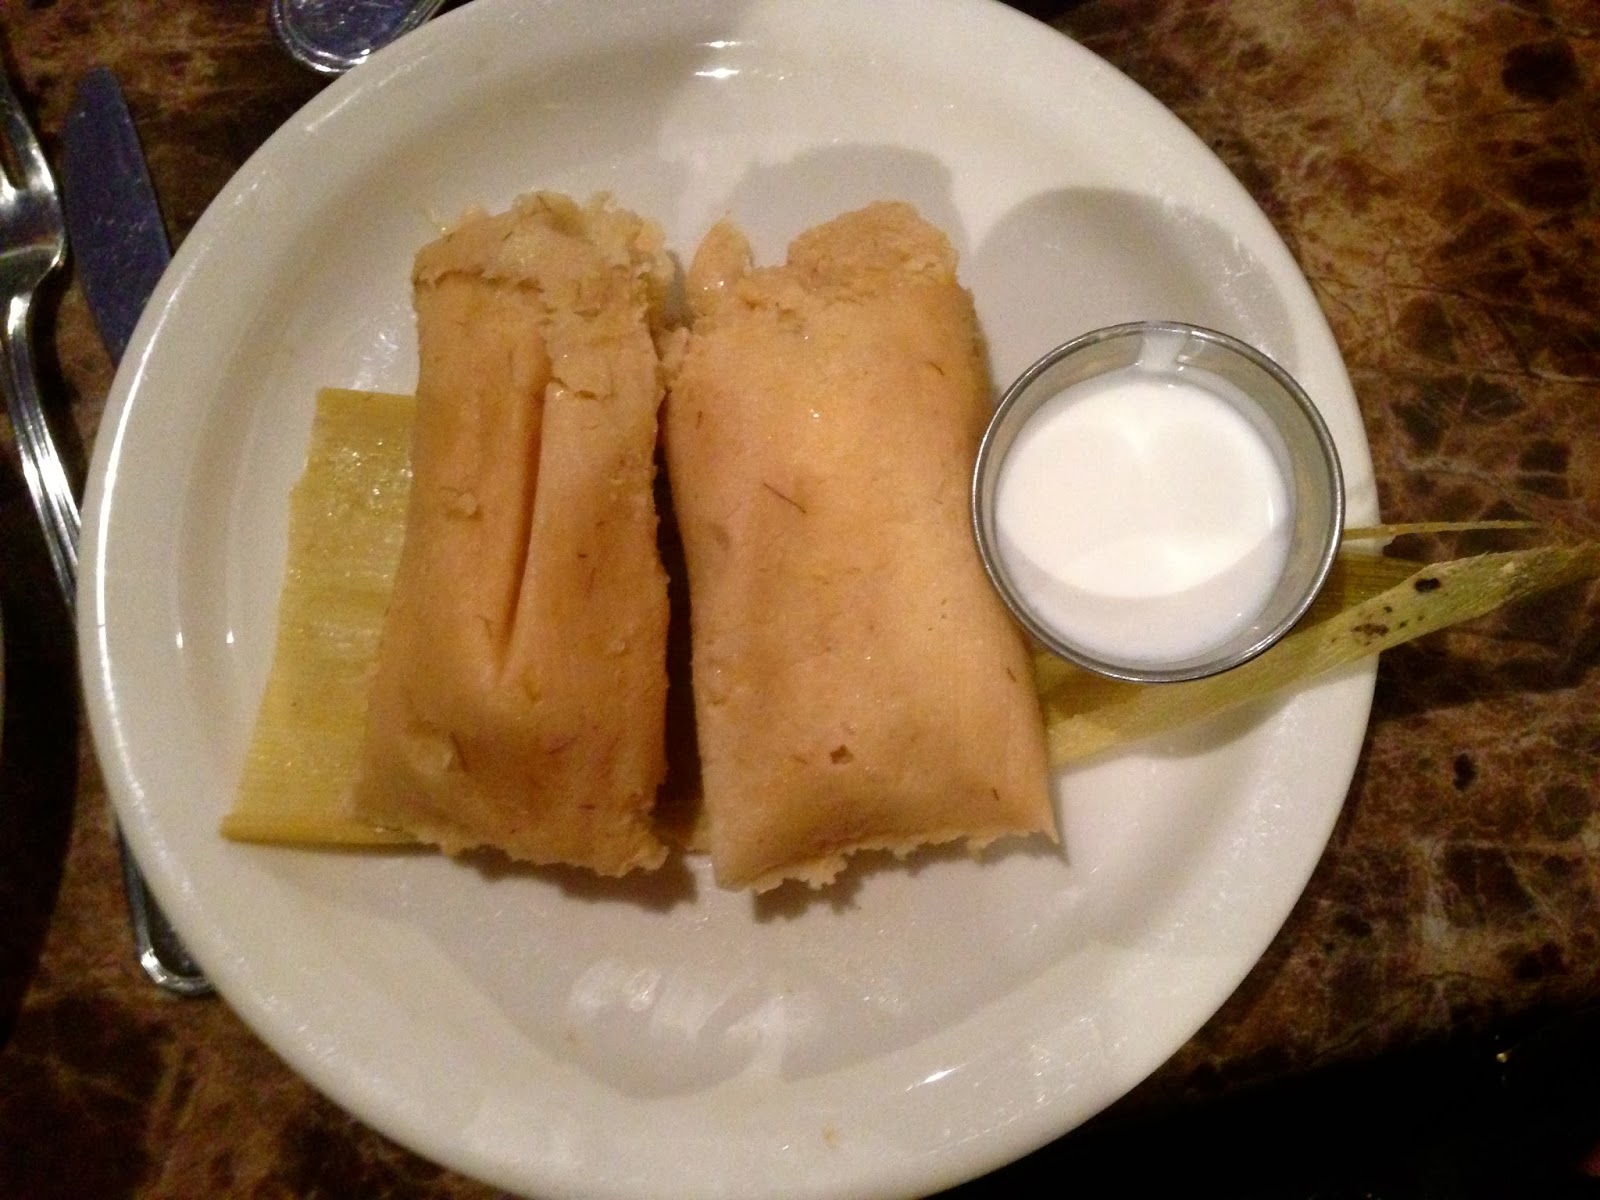
I also got tamales, with nothing in them.  I personally love just the corn part of the tamales and so I was really happy they had these.  It was really good!  It was soft and was just amazing.  I really don't know how to explain tamales.  They are probably one of my favorite foods so I would definitely order them if you've never had them before.


We also got plantains for the table.  I was expecting tostones, which is a fried, smashed plantain with garlic.  I get these at this restaurant where I live and they are so good!  I don't like the sweet plantains, they are like caramelized bananas which I really don't like.  Anyway, I didn't get what I was expecting, but they were still good.  Not so crispy, they were still kind of soft on the inside.  They came with beans and sour cream.  I couldn't get a picture of the whole plate of them because everyone ate them too fast and I wasn't about the ask everyone to wait so I could take a picture for my blog (trust me, it was embarrassing enough taking the photos of my food the whole meal).  


The best thing I had at dinner would have to be the drink.  I ordered an Atol de elote, which is a sweet corn drink.  It was like drinking thick, pureed corn.  It was sweet and really delicious!  I mean, I want another one.  I did burn my tongue, which was not too fun, but it was worth it.  Again, it was the same boring color but just know that it tasted better than it looked.


The food was good, not great, but definitely good.  Oh, and if you haven't already noticed, I think my cleanse kind of stopped working.

Sunday, October 6, 2013

Avocado Sandwich

First, I want to show you what someone gave me:


That is a pound (plus) of chocolate!  I have already started it and love it.  This is also the picture I instagrammed because of course, with a filter, every iPhone photo you take looks better.

So about the avocado sandwich.  The name is a little deceiving, because in fact this sandwich was not purely or even mostly avocado.  It was still good, just the name should have been different.  My friend and I went to this cafe near the school.  I had passed the place many times and it always looked too busy for me to want to go in (when a place is too busy it makes me stressed, people behind me in line get angry because I'm new and don't know what to order, and when I finally do order and I get my money back I don't think I have time to put the money back in my wallet because the cashier literally throws it at me and I never pay in exact change because I am too worried about holding everyone up behind me!!!! yeah, I don't really like busy restaurants).  Anyway, this place was really good, and I'm glad my friend made me go.

I got the avocado sandwich and a cantaloupe agua fresco (I think this is just cantaloupe juice).  The drink was so good!


The sandwich was served with a side salad that had this sweet mustard dressing on top.  The dressing was so delicious (I dipped my sandwich in whatever dressing I had on my plate).


The sandwich itself is pretty simple, I mean, I realized after I bought it that it's the same sandwich my little sister (a middle schooler) makes like any time she wants a sandwich.  It is just avocado, mozzarella cheese and tomatoes (this sandwich also has onions, my little sister doesn't put onion on hers).


Although it was simple, I understand why my little sister likes it so much, it's really good!  The salad was, like I said, really tasty too.  It was just lettuce, tomatoes, cucumber and onions (I guess they like onions there, I'm not complaining because I like onions too).  


I ate all my onions actually and my breath smelled like onions for the rest of the day, not the best when you talk to people.  I was covering my mouth a lot for the rest of the day, and I'm sure people thought I was really weird, if they didn't think that already.

Here is a nice blurry picture of my meal:


Overall, I liked it.  I would definitely go back, but I would probably order something different because I can always just ask my little sister to make this sandwich for me.  Definitely make this sandwich though at home, it's easy and really good!