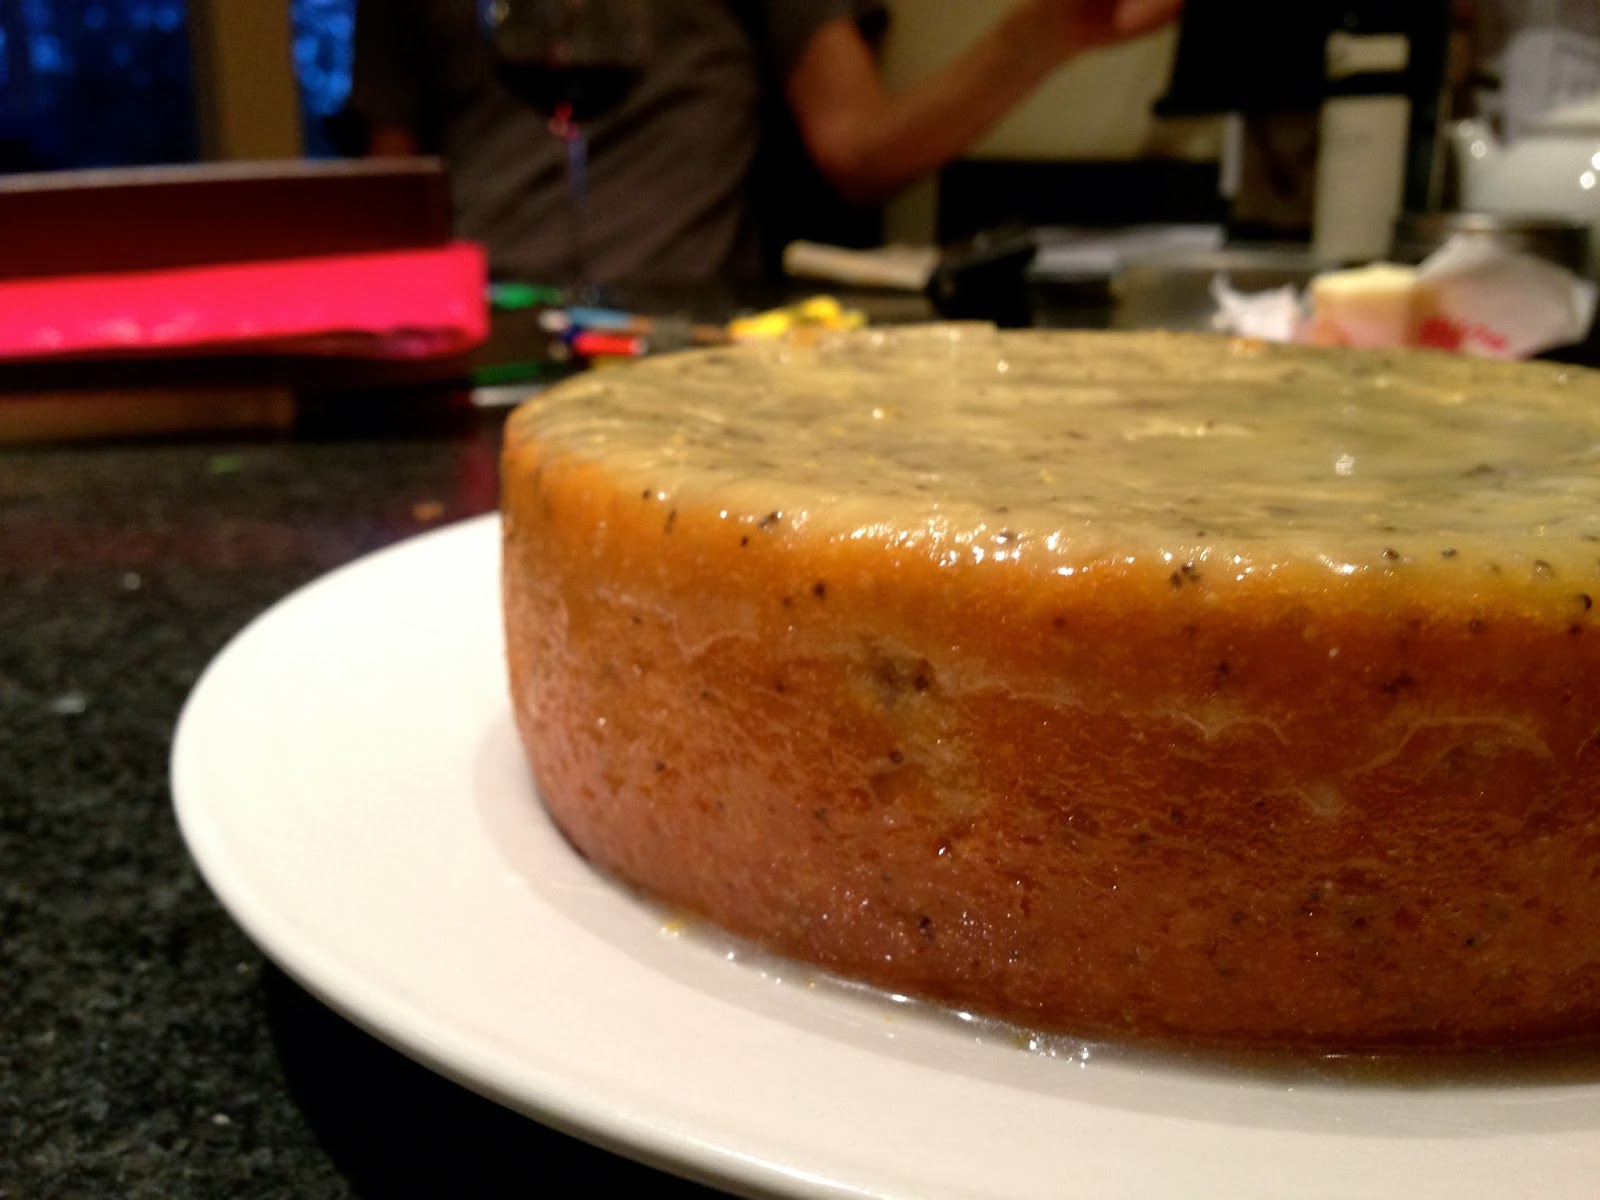
Well, my lemon poppyseed cake might not actually be lemon. As you have probably read in the title, this is a "limen" poppyseed cake. My sister planted a tree in the yard and then she forgot whether she planted lemons or limes. Now, you probably think it should be pretty obvious to decide which one it is by the color, but, the outside of these are mostly yellow with some green and the inside is a light green almost yellow. Very tricky.
Anyway, they are a citrus and I used them. I used this recipe:
http://liza-messycorner.blogspot.com/2013/08/lemon-yoghurt-n-poppy-seed-cake.html
It is pretty simple and really tasty! I actually made it in my rice cooker because I have been wanting to use the cake function for a while now. Of course, you can just follow the recipe and make it in the oven and I'm sure it would be just as (if not more - but probably not more) delicious.
First things first, lay out dem ingredients because not only does it make what I think is a good picture, but it also just makes everything a lot easier when baking.
You will need:
1 1/2 cups all purpose-flour
1 teaspoon baking powder
1/2 teaspoon baking soda
1/2 teaspoon salt
1 1/2 cups sugar
1 cup whole milk plain yogurt
1/2 cup canola oil
2 large eggs
2 tablespoons freshly squeezed lemon juice (or in my case "limen" juice)
zest of two lemons
Poppyseeds
Mix the flour, baking powder, baking soda and salt together.
Next, in a separate bowl, mix the sugar, oil, yogurt, eggs and lemon juice and zest together.
Make sure to get all the zesty goodness from the back of the zester.
Also, this is my "limen." See what I mean by the color on the inside, yet the outside is yellow. Very confusing indeed.
Make sure to squeeze all the juice you can. It is a lemon cake after all and you want to make sure you can taste all that lemon flavor.
Then just mix the dry ingredients into the wet ingredients in batches until the dry ingredients and wet ingredients become one.
Get those poppy seeds (is this one word or two? I wrote it as one on my instagram but then I edited it. You get what I mean).
Put as many as you want. Hopefully you use poppy seeds that are not stuck to the bottom of the bottle because let me tell you it is very difficult to get them out. I have big hands and long fingers and I thought I would have been able to just use my fingers to get the extra out but it didn't work so I used a spoon.
That story was incredibly boring I realize, but I am too lazy to erase it so it's going to stay. I'm funnier in person.
Give it one last mix and then pour the batter into either a buttered and floured baking dish or your rice cooker if you want to experiment.
I just cooked mine until a toothpick came out clean. I think it took me like 40 - 45 minutes, but I wasn't really paying attention. The recipe says bake it at 350 for 40 minutes.
It's a beautiful golden brown when you take it out, but I thought that looked ugly and so I turned my upside down later so that the poppy seed top was showing instead.
I made a glaze to go with it, which was pretty simple. Just a little bit of warm butter with lemon juice and few tablespoons of water and powdered sugar. Make it to taste and the consistency you want.
I poured it over the cake and it fell on the sides and I thought it looked terrible.
I was tired tonight and that didn't help. I started pouting and was really upset (don't I sound like a ball of fun?). Anyway, I had to take it off the plate with the hideous glaze around it and move it to another plate.
The poppy seed top is so much prettier anyway. The cake is SUPER moist and really delicious. I bet my mom is agreeing right now as she is reading this.
My US Weekly came in today too so I obviously read that while I ate my dessert.
Unfortunately, I go back to school this weekend and so I probably will not be making food/ blogging about it so much anymore. Hopefully I'll find some good restaurants that I can write about, until then, enjoy!


